
For a couple of years now I have been dreaming of hand-painted photography backgrounds. My younger brother who is also a photographer was fascinated by Annie Leibovitz’s backdrops and pointed them out to me. They were gorgeous, they looked really worn out with beautiful variations. They looked custom made and like nothing I had ever seen before, at least not in a photo store.
After a bit of research we found that there are a couple of companies that make backdrops. Not the cheesy mottled backdrops that are so common, but beautiful backdrops that look like a huge chunk of a 100 year old carnival tent or the withered cement floor of a slaughterhouse, grungy, worn and dirty. They sound terrible, but they are heaven in a photograph. They are great for portraits or headshots and look so much better than the cheap thin stuff we have all seen at the fantasy makeover photo booth at the mall.

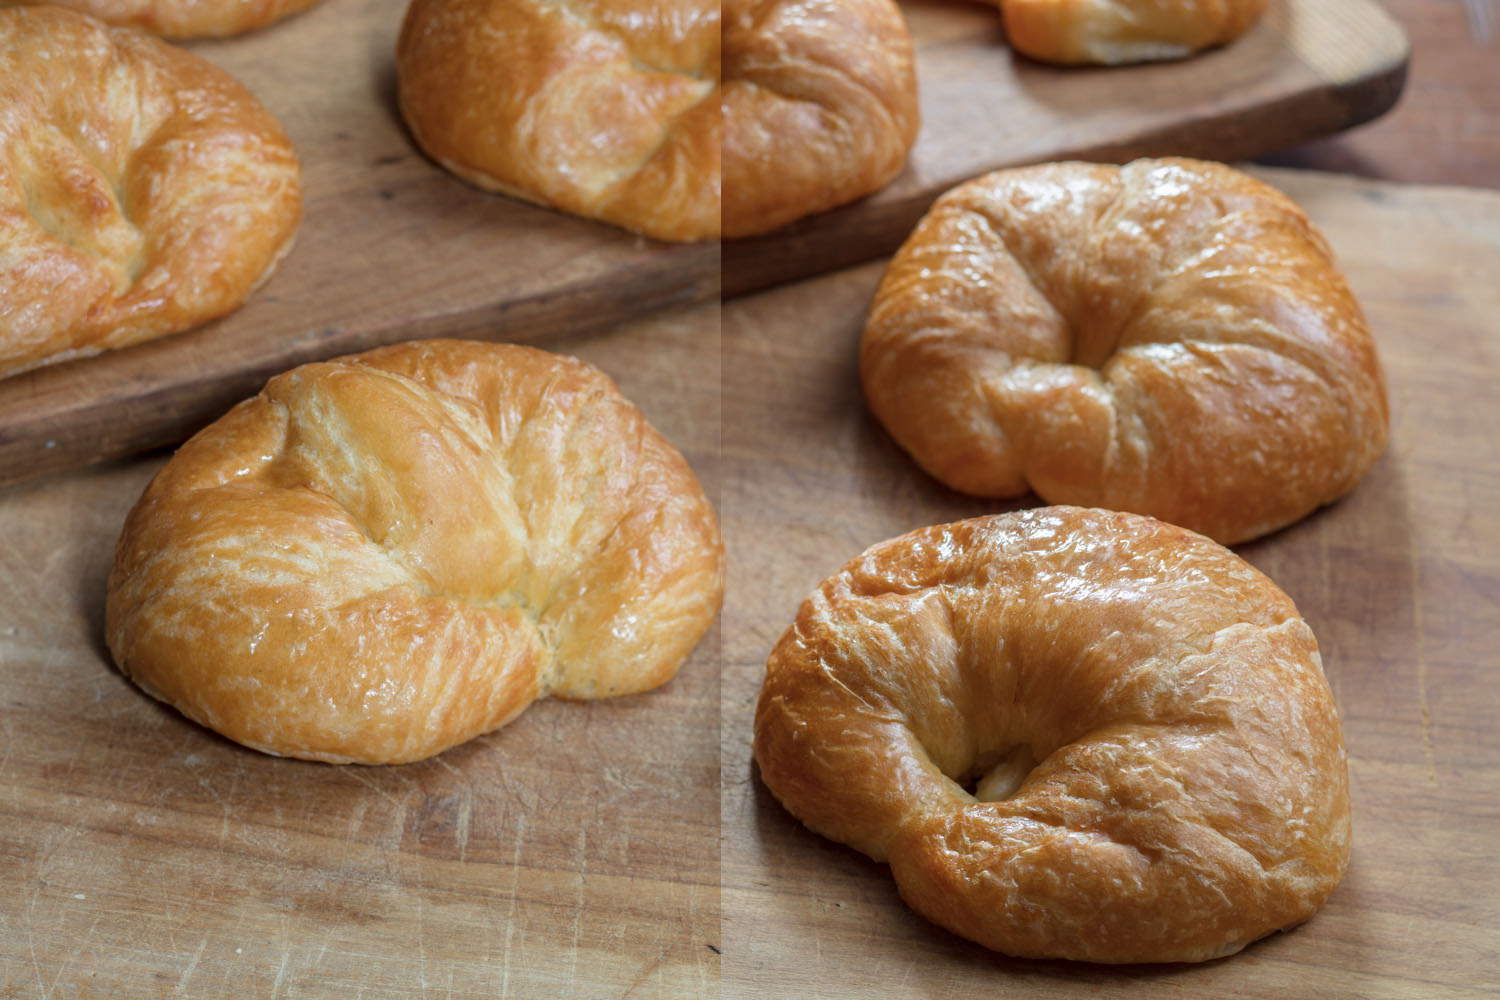
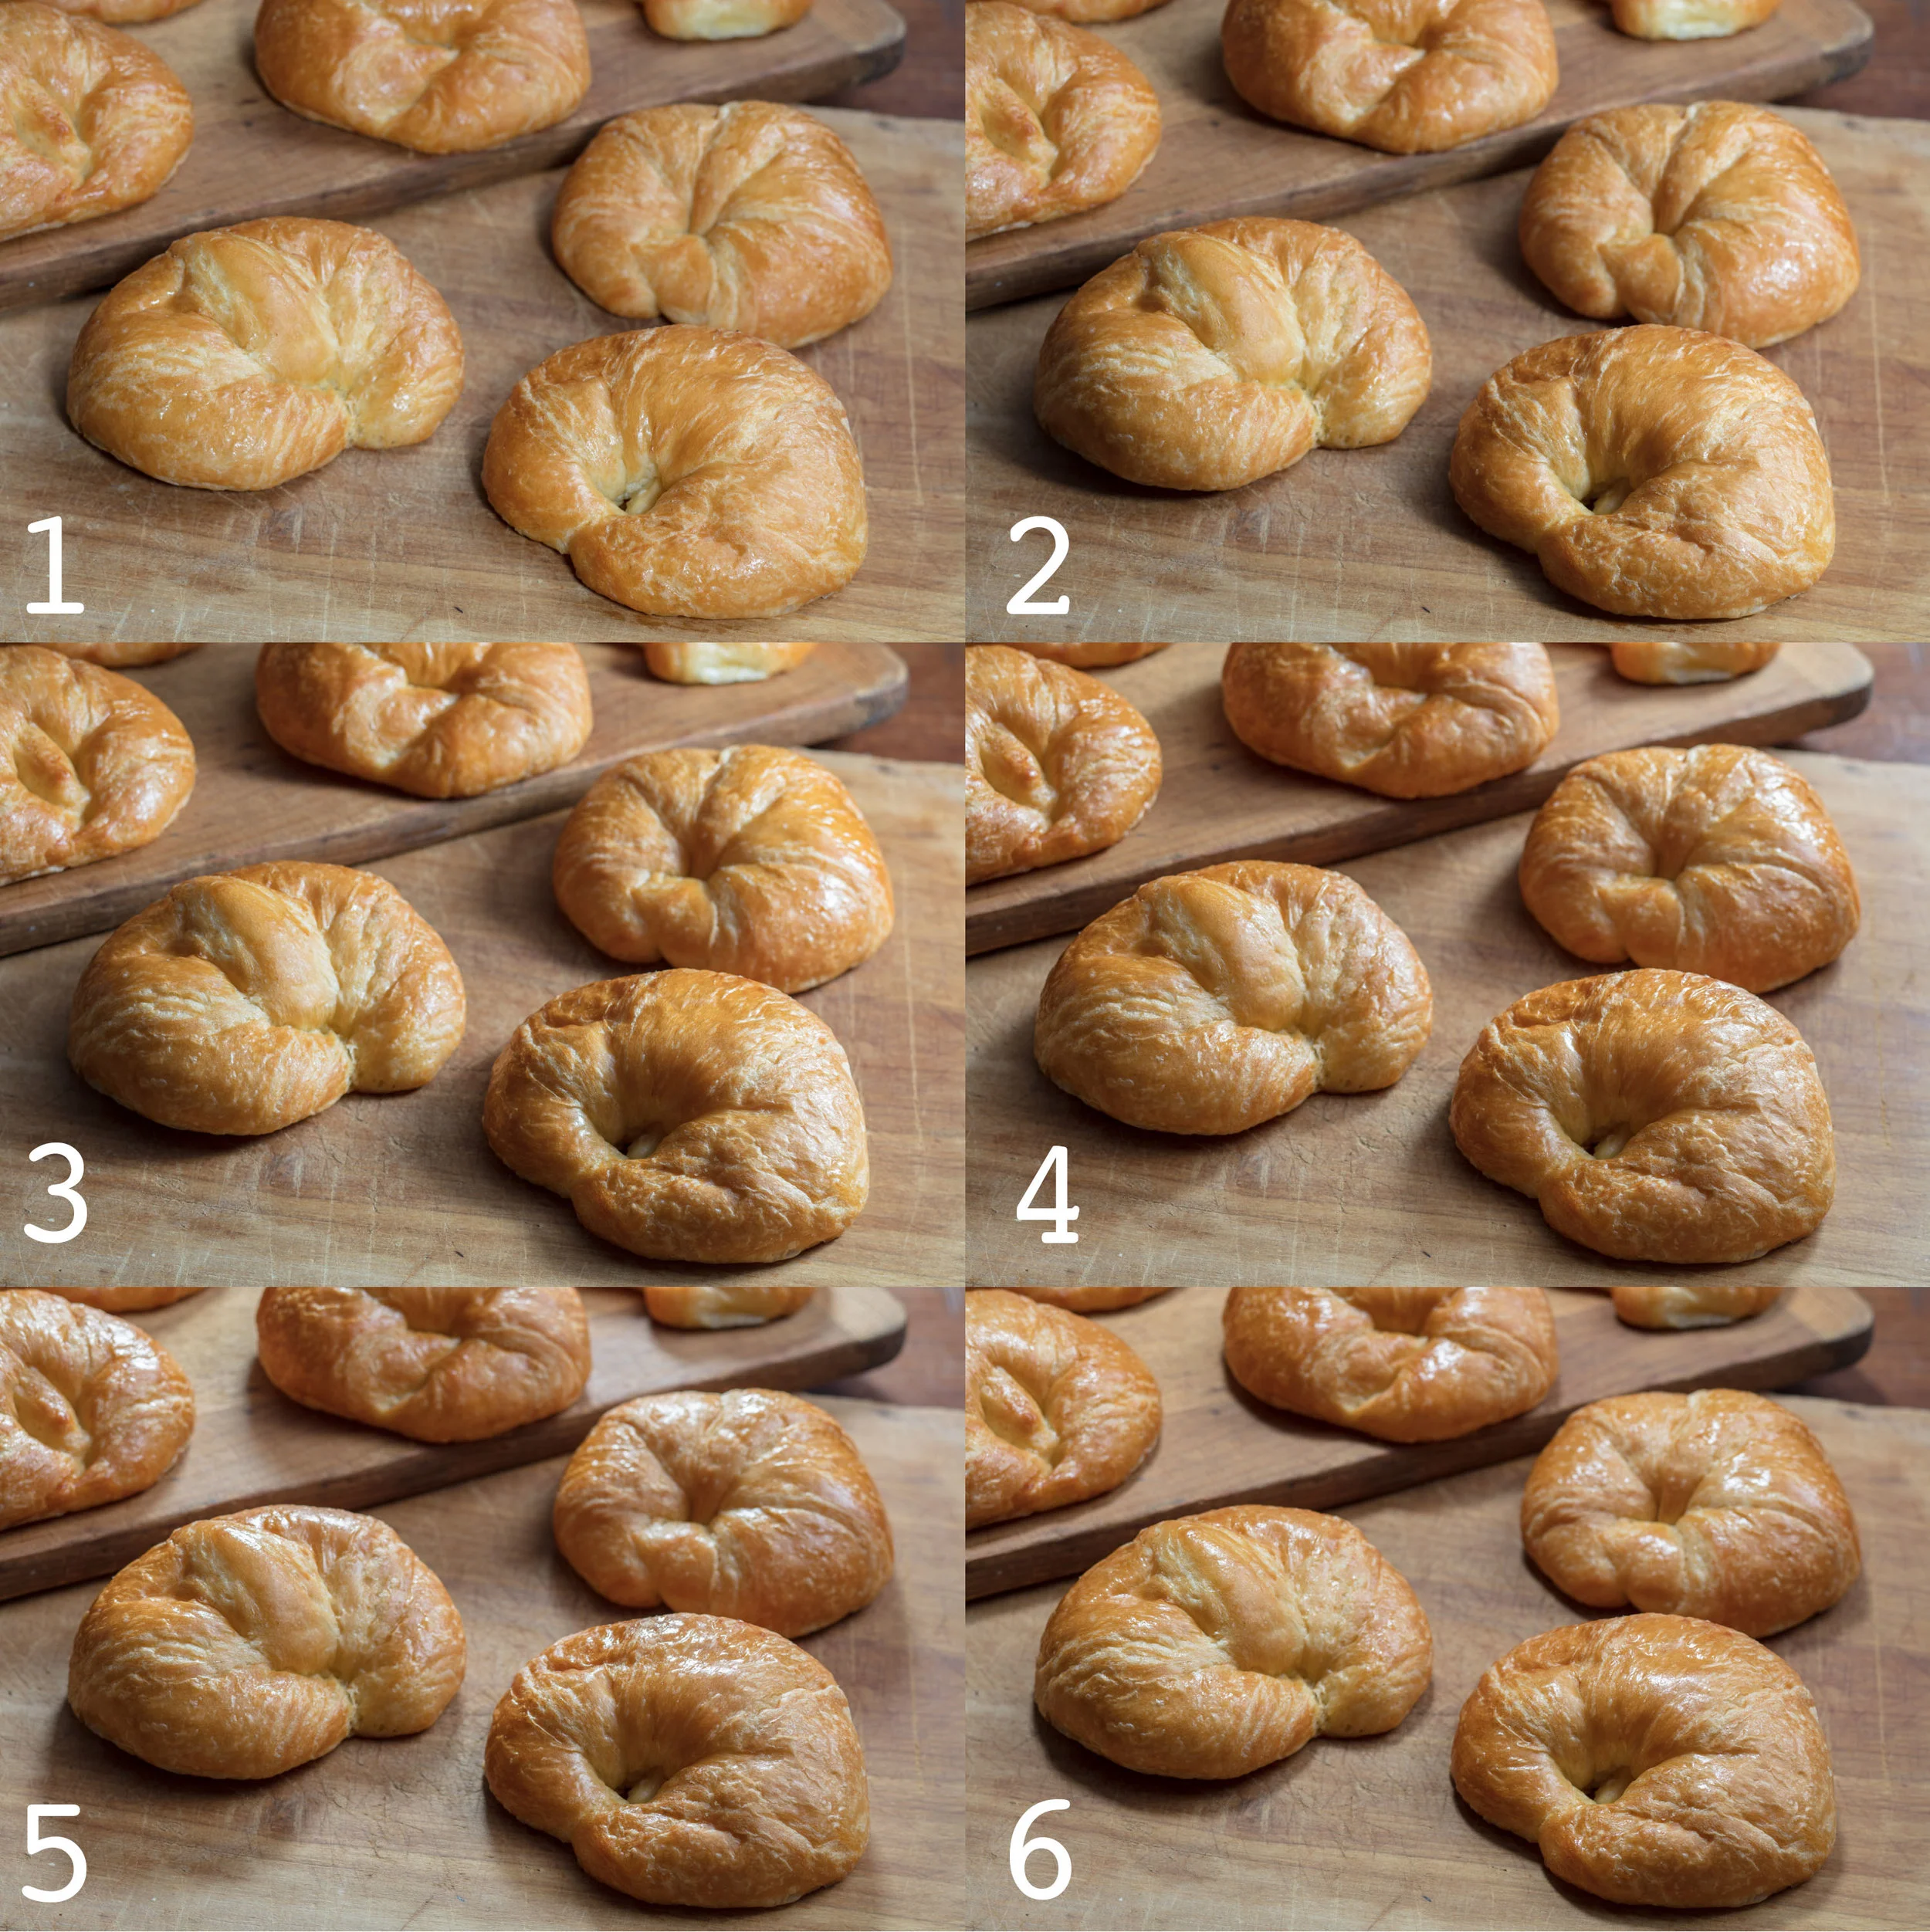
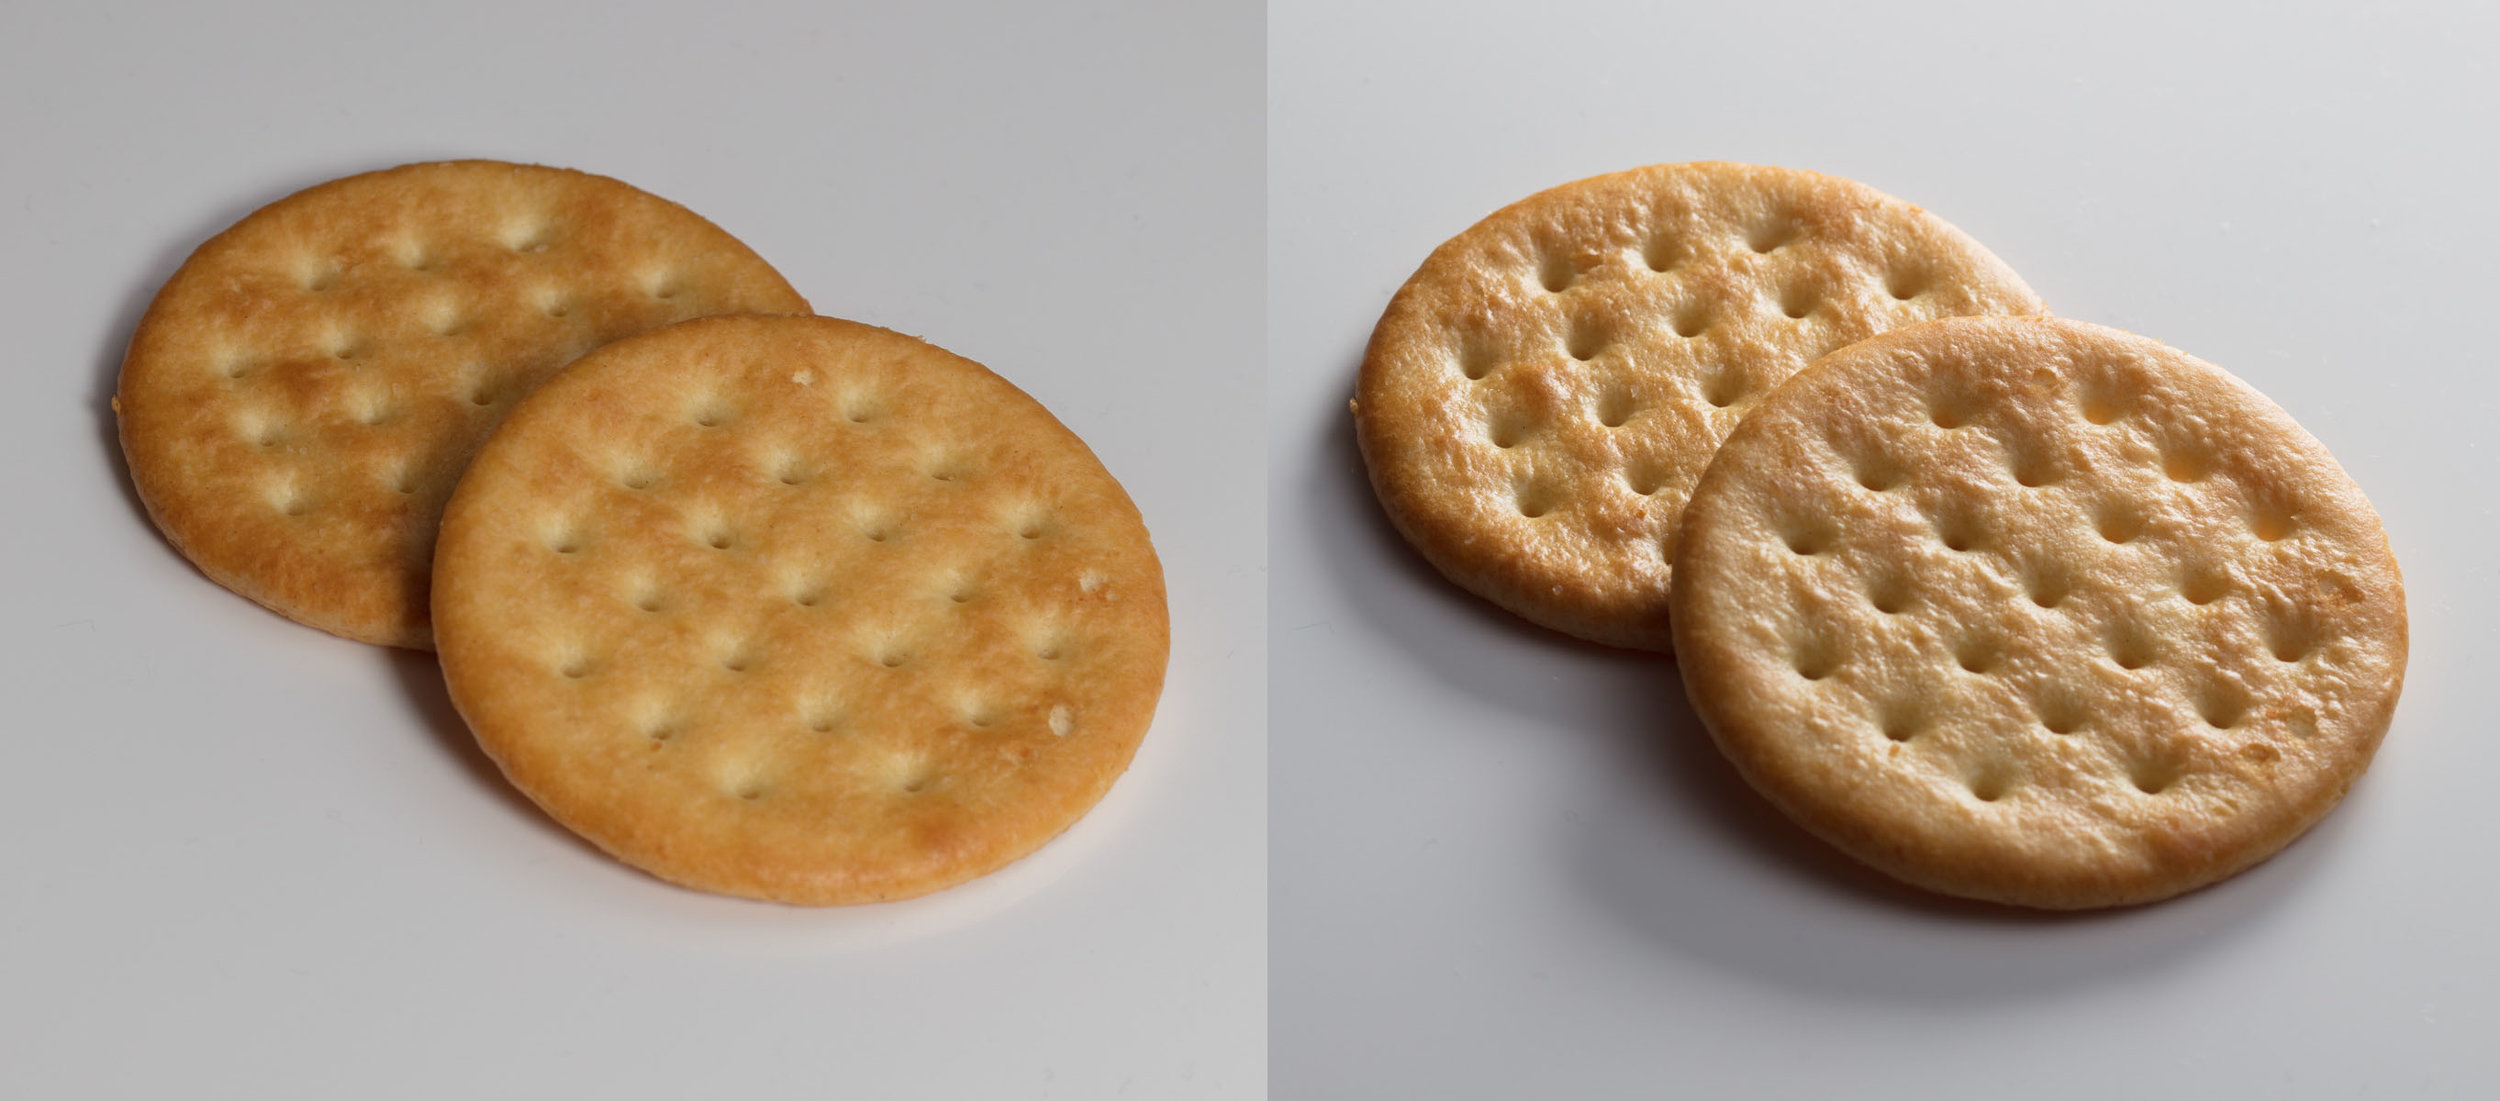
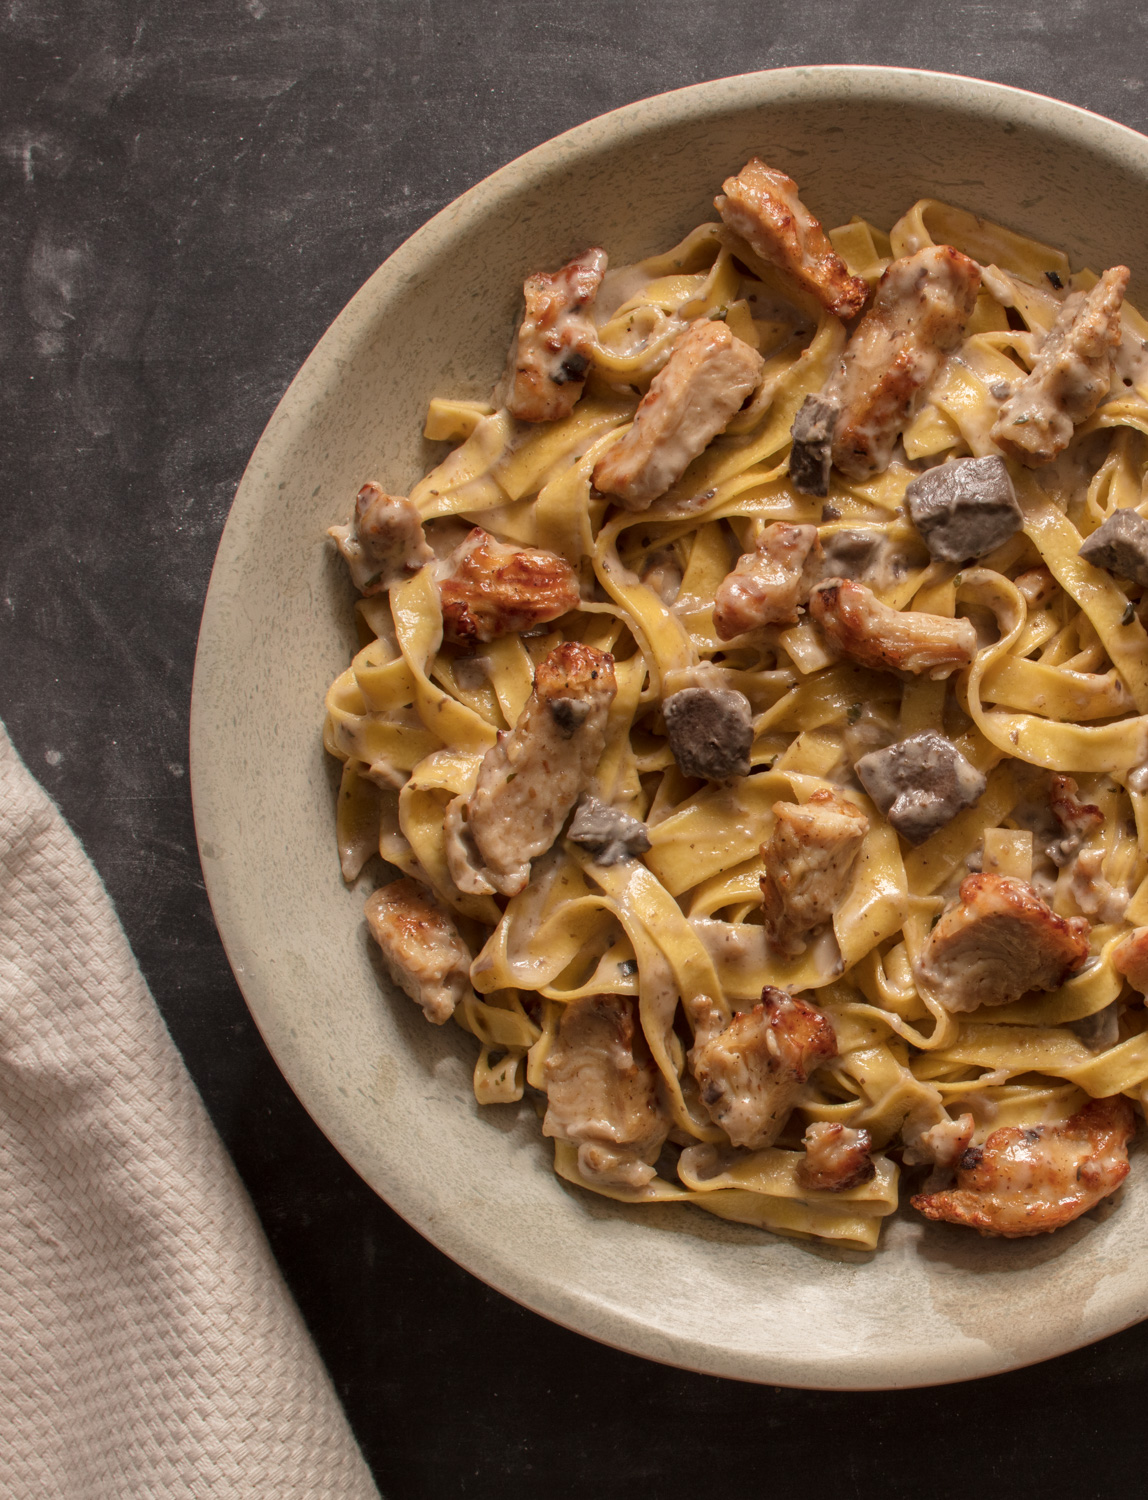
A close up that shows the texture. Working on a wet canvas allowed the paint to feather out a bit and eliminate the sharp edges.
The two companies that really piqued my interest are Oliphant and Schmidli, they make art, literally. They have craftspeople that have spent years perfecting their technique and making gorgeous paintings, that also happen to be photography backdrops. They have a bunch of different designs for rent and if you have deep enough pockets you can even buy one. I am a bit of a DIY guy and I know my way around a paintbrush, so I decided rather than save up my pennies, I would make my own backdrop.
A little careful study of nice hand-painted backdrops and I was able to determine that they are painted on artist’s canvas, or if you are willing to spend a bit more, you can get artists linen. Linen is more dimensionally stable than canvas, so it will lay a little flatter and keep its shape a little better when soaked with paint. I decided, since this was an experiment at this stage, to opt for the cheaper canvas. Canvas is a bit like a bed sheet when it is unprimed, if you start adding paint it will slurp it up in a random way, you will get wrinkles and the shape will be more like an animal skin than the smooth look I was going for. When canvas is factory primed it is stapled down so it stays very uniform and smooth. So I opted for the factory acrylic primed canvas. It is important to use acrylic primed canvas rather than oil primed, because the water based paint will flake off of an oil priming.
The next step was to go to the home goods store and get some paint. I got three colors that were close in value but slightly different in color, so as I put them next to one another on the canvas they would would look good together. I chose a dark blue gray, a brownish dark gray and a olive shade dark gray. I bought all three colors in flat, so I could avoid issues with glare and shininess. While I was at the home center I also got a paint roller that is designed for making nice textures. The roller is made of sea sponge, this would be my primary tool.

Here is the sponge roller, expensive at near $20. but really crucial in getting a nice random texture.
I started by laying down a large piece of acrylic primed canvas and applying a uniform coat of the blue gray. I initially thought this would be easy and bits of blue gray would peek through the overlying warmer colors. But , as I learned there is a lot more art and finesse to this process than I originally thought. So once I had my blue-gray base. the next step was to switch colors and partially cover the base allowing bits of the color layers to interact and show through. I painted a coat of new color and didn’t bother to clean the roller so I could keep things subtle. I filled the roller with paint and then lightly rolled it by skimming the roller over the surface of the canvas. It looked great, kind of random and the original color was poking through in spots all over the canvas. The problem was, that as the paint dried it got darker and my beautiful patterning disappeared. Too subtle.
The next coat, I cleaned the roller thoroughly and tried another color, this time the olive. I used the same technique. lightly skimming the roller and trying to keep things random looking. This time when it dried, it had far too much contrast. This wasn’t going to be easy.
After several more coats I fell upon a method that got nice results. After allowing a coat to dry, I would wet it down with clean water, the sponge brush would make things a little foamy. Then I would use the same technique. Pick a color a little lighter or darker than the last and gently skim a coat of paint while keeping things looking organic or random. Most times I would do stripes in parallel trying not to overlap that run the length of the canvas. Then, if there was a repeating shape or harsh line I would go back and touch up the paint with a light pass of the roller.

Here is the backdrop on my studio floor, soaking wet with water about to get another light coat. (Sorry for the cruddy phone picture quality.)
I took great care to keep things from looking deliberate or man made, I wanted my backdrop to look more like some natural process created it.
The backdrop you see in this article is my second one, my first turned out well, it was more green and a bit lighter. The thing to keep in mind is that even though the process takes a bit of finesse and the paint dries a different color than when it is wet, you can always just add another coat. Expect the process to take 7 or 8 coats of going back and forth between colors before one dries that looks perfect. With both of the backdrops I have made, I thought I was finished and went back days later and made changes. There is an element of luck involved, it is your job to make the most of that fact, sooner or later you will get lucky and it will look great. If you try to make your own backdrop, good luck. I would love to see the results. There are some great inspiring backdrops out there to learn from on the Oliphant and Schmidli websites.

On of my brothers kindly posed to demonstrate how the backdrop looks with skin tones.
The total cost for my project? The canvas was the most expensive bit, I spent $150. on a 84 inch x 6 yard roll, that was enough to make two nice sized backdrops of 6'x9'. The roller was pricy at $20. and then the paint cost about $10 to $12 for each of the quart sized colors, I used 6 different colors which brought the total to a little more than $200. for two backdrops. I am really happy with the results, but I must admit that I would still love one made by the pro's. Maybe my two nice new backdrops will satisfy my craving for a little while longer.
Have you ever made a backdrop? Do you have any tips that you would like to share that made the job easier and had great results? I would love to hear about them.